Automotive waterproof LED strip lights is a cool product which is widely used for car decoration. Here is a step-by-step guide of Waterproof LED Strip Lights installation on vehicles.
Step 1 Tools You Will Need
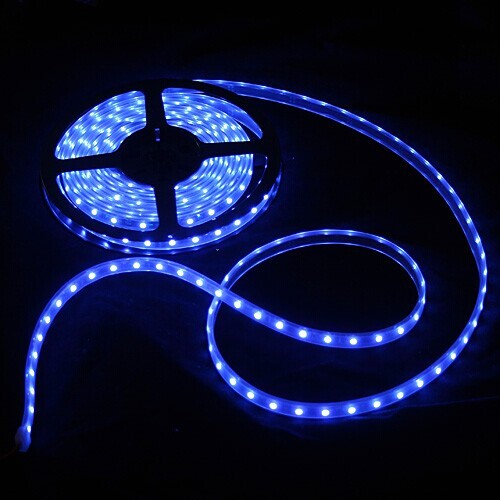
Choose LEDs that fits your vehicle voltage, usually there are 12 V and 24 LEDs options. Here is an example of top-rated 5m Waterproof Blue White SMD 3528 Flexible 300 LED Strip.
Soldering iron
Solder
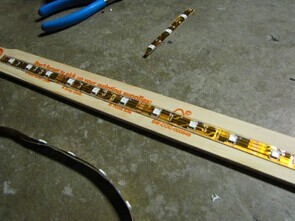
A paint stick
Step 2 Cut LED Strip Light
Cut the LED strip light to certain length you want when you find out a cut mark located between the two pairs of copper connection pads. If you do not make a clean straight cut without putting any stress on the PC board may lead to the failure use of 3 LED sections.
Step 3 Cut back TPU coating
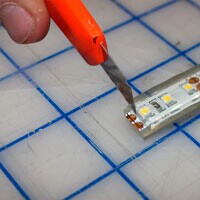
Cut back the TPU coating by using a sharp blade to expose the copper connection pads on LED strip light to solder wire to the light.
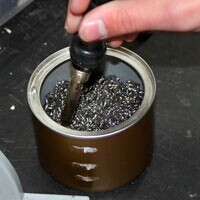
Step 4 Clean solder iron
Clean your solder iron to make the joints as clean and small as possible in order to avoid solder iron for overlapping. Then tin standard wire and copper dots on the LED strip. Match the wire and copper dots on LED strip light together.
Step 5 Locate position
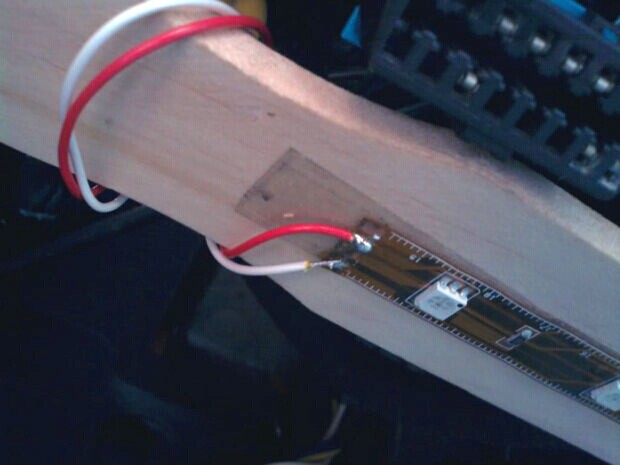
Stick the LED strip to the paint stick and mount it under the dashboard.
Step 6 Connect source power
Connect the light to the source power and tap it into solder.
Step 7 Test connection
Test the connection and wait for 24 hours in order to make perfect waterproofing.